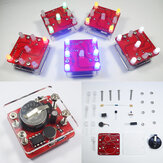
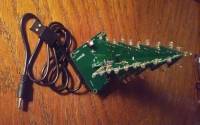
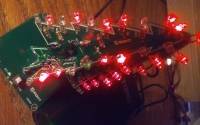
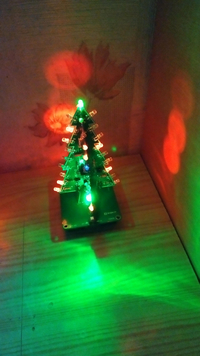
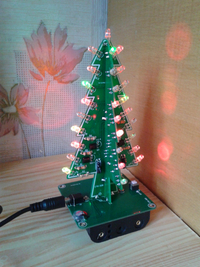
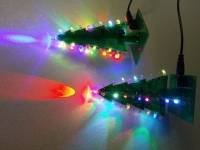
Geekcreit® DIY Christmas Tree LED Flash Kit 3D Electronic Learning Kit
4,47€
A part of the review has been auto-translated.

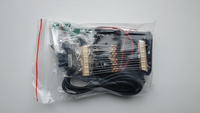
Package is full, but the instruction document is not the good one for the colorful led version. I upload a picture with the correct resistor value !

All components included easy to solder, good for beginners bcps are labeled for most components 10k (r1,r3,r5 = brn,blk,org,gold) resistors, transistors, capacitors, switch and power connectors are clearly marked 2.2k (red,red,red,gold) goes in r7 on pcb 'A' all others resistors are the 1k (r2, r4, r6 = brn,blk,red,gold) the r7 2.2k resistor runs the top led my kit included one extra led, and had one bad led tree stands 5.5x2.5x2.5 when completed very low power draw, 0.05a


Fine kit. Everything was in the package (I even got one extra LED) Instructions are fine, but the delivered resistors does not match the instructions. Just follow the instructions, and use correct resistors (see below)) The correct resistors: R1, R3, R5, R7: 10 kOhm (Note: R7 is only on board CTR-30A) R2: 2,2 kOhm R4: 1 KOhm R6: 33 Ohm (39 Ohm works fine) Have fun.
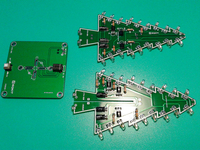
Having no experience of electrical circuits I was unsure what to do when this arrived. The download instructions aren't that clear so here are my tips for assembling the multi colour LED version with white LEDs: View a PDF with assembly details here (Credit to the reviewer pages back who posted this): http://www.haoyuelectronics.com/Attachment/CTR-30C/CTR-30C%20Flashing%20Christmas%20Tree%20Instruction.pdf Link with images is: http://www.haoyuelectronics.com/Attachment/CTR-30C/ CTR-30A is one tree PCB CTR-30B is the other one CTR-30C is the base Resistors: These can be fitted in either direction and are: 6 x 1k: Colour bands Gold/Red/Black/Brown 6 x 10k: Colour Bands Gold/Orange/Black/Brown 1 x 2.2k: Colour Band Gold/Red/Red/Red Locate where these go via the pdf and insert in to the relevant location R1, R2 etc... The single 2.2k goes on R7 on CTR-30A. Transistor (With the 3 legs) Must be fitted the right way but the PCB shows the orientation. All are the same spec so use any of them. Capacitor Must be fitted the right way. Longer leg is (+) Positive. And negative side is printed on the casing. All the same spec so fit where required. LEDs Must be fitted the right way. Longer leg is (+). Positive terminal is the lower location where the letter is such as D1, D2 etc. Solder in place with enough length to bend to point out the way. Solder the tree segments together. When you fit the soldered tree to the base I recommend installing and power up to test before soldering in as you can have a (+) against a (+) as per the instructions but it can still be 90 degrees out. I did this and it was a pain to unsolder as I didn't have a solder sucker. It all went together and worked great once I had realigned the tree to the base and works great off USB power.
This is so beautiful, and quite easy to make. But there's no manual written on paper, and the downloaded manual from the link is not correct.(there was some not included resistors on the manual) So if you make this, solder resistors like this : part A R1=10k R2=1k R3=10k R4=1k R5=10k R6=1k R7=2.2k part B R1=10K R2=1k R3=10k R4=1k R5=10k R6=1k


I have now purchased 5 of these kits. Lots of fun, once you figure out which resistors go where - See pictures. Youtube has some good videos on construction


Vor kurzem habe ich den Bausatzsatz erhalten und, nachdem ich eine Bauteiliste entsprechend der gelieferten Bauteile im Internet gefunden habe, zusamen gebaut. Nach dem Zusammenbau und dem harten Test, habe ich ein paar Bilder gemacht. Ausserdem habe die Bauteilliste beigelegt. Viel Spass beim Löten.


Nice rations training kit. The quality of the printed circuit boards is high: the tracks are smooth without cracks, the holes are metallized. Going easy enough, the internet has text and video guides. The assembled design became operational at once both by USB cable and from three AA batteries. I happen to have a set in which each LED lights the поочерёдно in three colors: red, green and blue. There are four openings in the stand to be fixed to the base, so in the future, maybe I'll make a protective transparent case for this tree. It also needs to be added that this design has a very low current consumption of about 16 mA. Great New Year's gift. I recommend it.


I have purchase 16 units in total as Xmas gift and everybody LOVE it.

Funny Christmas toy.


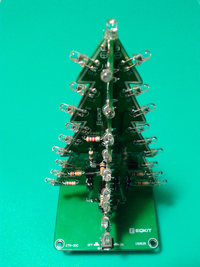
DIY Christmas Tree LED Flashing Light Kit Circuit Board Mould Green Xmas
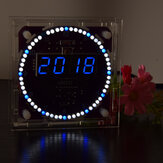
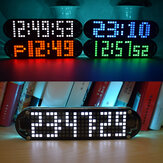
Geekcreit® DS3231 High Accuracy Multifunction LED Dot Matrix Animation Effects Clock DIY Kit


DC5V-9V LED Chaserr DIY Kit LED Tracking Light DIY Parts Electronic Production Kit
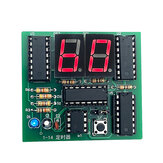
5V DIY Kits Two Bit Timer Board 2 Bit Counter DIY Electronic Kit

4X4X4 Blue LED Light Cube Kit 3D LED DIY Kit For Arduino Smart Electronics Led Cube Kit

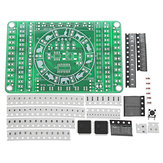
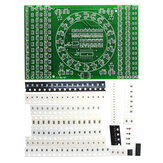
3Pcs DIY SMD Rotating LED SMD Components Soldering Practice Board Skill Training Kit
EQKIT® 60 Seconds Electronic Timer Kit DIY Parts Soldering Practice Board
Geekcreit DIY Warning Strobe Light Kit Parts CD4017 Thunder Flash LED Electronic Kit
EQKIT® Arc Ignition Lighter DC3-5V 3A DIY High Pressure Electronic Lighter Module Kit

DC12V DIY Electronics Kit Ultrasonic Suspension Standing Wave Controller Diy Welding Kit
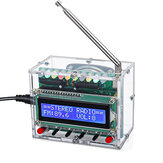
EQKIT® FM Stereo Radio Kit 76-108Mhz Frequency 180mAh 32Ω Impedance YFM-1 DIY Electronic Parts
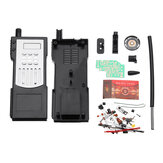
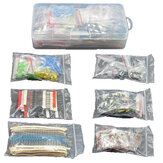
DIY Electronic Walkie-talkie Production Kit Starter Kits Welding Experiment Training Kit
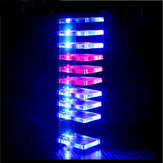
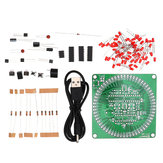
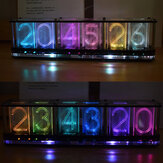
DIY Dream Crystal Electronic Column Light Cube LED Music Voice Spectrum Kit

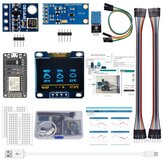
V3.0 Engraver CNC Shield+R3 Board+4pcs A4988/DRV8825 Driver Expansion Board for 3D Printer Set Kit
DIY 51 Single Chip Microcomputer Electronic Scale Production Kit


180pcs M3 Nylon White M-F Hex Standoff Spacers Screw Nut Assortment Kit with Box
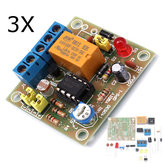
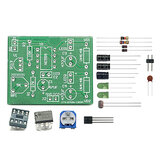
3Pcs DIY Light Operated Switch Kit Light Control Switch Module Board With Photosensitive DC 5-6V


EQKIT® DIY Light Operated Switch Kit Light Control Switch Module Board With Photosensitive DC 5-6V
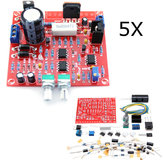
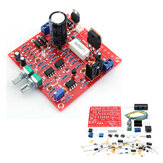
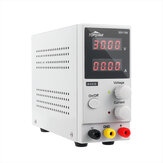
5Pcs Original Hiland 0-30V 2mA - 3A Adjustable DC Regulated Power Supply DIY Kit
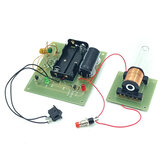
Electromagnetic Gun DIY Kit Electromagnetic Experiment Equipment
DIY Aviation Band Receiver Kit High Sensitivity Airwave Receiver Classic Version
Geekcreit® XR2206 Function Signal Generator DIY Kit Sine Triangle Square Output 1HZ-1MHZ

Original JYETech DSO-SHELL DSO150 15001K DIY Digital Oscilloscope Unassembled Kit With Housing


3Pcs DC12 DIY ICL8038 Function Signal Generator Kit Sine Triangle Square Wave Signal
3Pcs Original Hiland 0-30V 2mA - 3A Adjustable DC Regulated Power Supply Module DIY Kit


.JPG)